Pages

Tuesday, January 14, 2014

A Frame for Cleaning J-Rail Trim


J-rail, also known as rain rail, is the aluminum trim that follows the basic shape of your trailer. Once you've removed it for a painting/resealing project, you'll probably need to clean it of old silicone, butyl tape, paint, moss buildup, and so forth.

Trouble is, it's easily bent while you're doing all this to it. Then it's difficult to get a good seal behind the segment that's tweaked.

To prevent this, and for ease of handling and storage, you can screw the trim onto a wood frame made of three pieces of lumber. Half a dozen screws are enough to hold the trim down firmly enough for cleaning and polishing.

Monday, January 13, 2014

Painting a Trailer: What I've Learned (So Far)


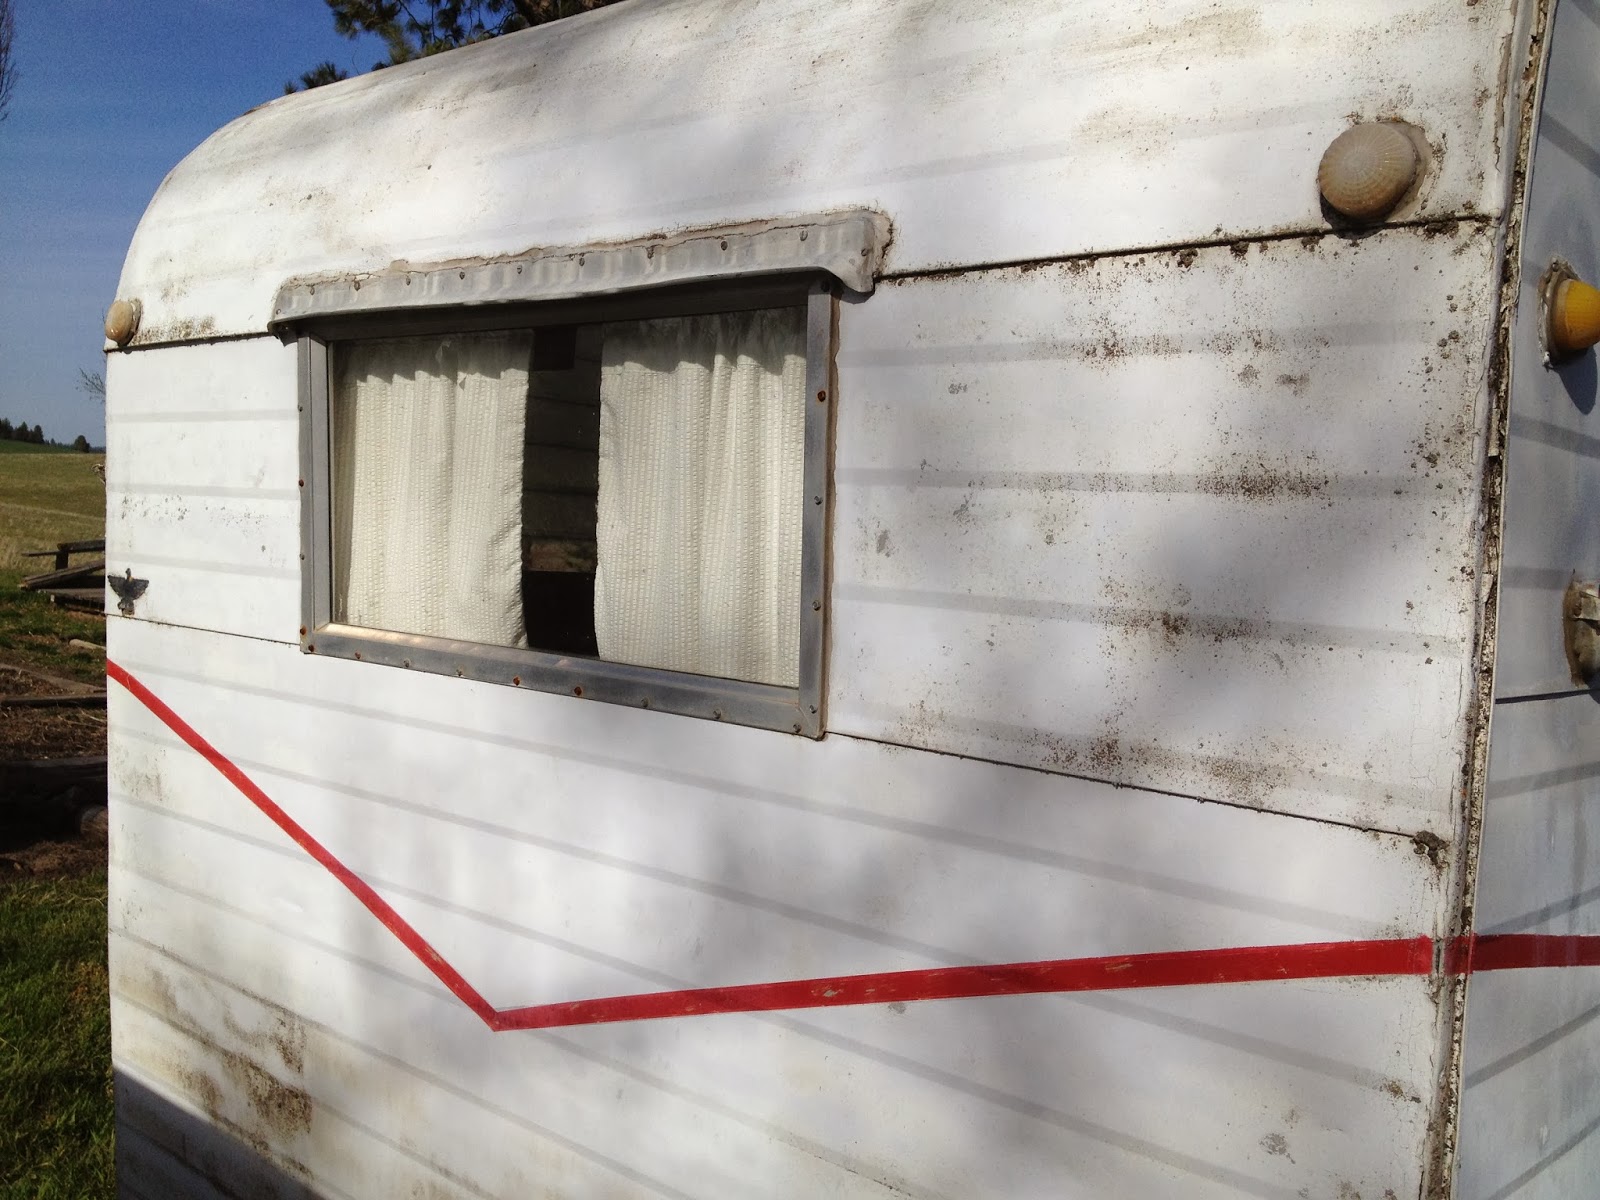
Last spring, I was the lucky beneficiary of a free trailer--a 1961 Aloha compact. I had never painted a vintage trailer before, but there was no question that the trailer needed a fresher face than this (seen on the day I brought her home).

What did I have to lose? I'd probably never get a better opportunity to learn as I went along. Here's a look at the progress so far:


I'm now making plans to paint another trailer, and based on what I've learned from this one, I'll do this:


* Strip the lights, trim, and windows. If I'm going to go to all the time, filth and bother to do a paint job, then it's worth it in the long run to reseal the trim and all the windows with new butyl tape and sealant. It's also a lot easier to do the sanding and other prep for the painting itself when you don't have trim to worry about. (Tip: Leave the windows in until you're done cleaning and resealing the roof. You'll end up with less mess inside.)


* Deal with the roof first. If the roof leaks, and even if it doesn't, there's no point in doing anything else until you're sure the roof is OK.  The toughest part is getting the surface cleaned, especially if there are layers of old roof coating up there. Prepare for this to take a while. Instead of using caulk, I applied Eterna-Bond roof-seal tape over the seams and around the vent cover. The tape is 4 inches wide,  hyper-adhesive, and designed to grip through a wide extreme of temperatures. It comes in a roll, like duct tape, and you press down a piece cut to match the length of the seam. That part goes fast!


* Prepare for long periods of The Uglies. There's nothing pretty about the cleaning/sanding/priming process of getting prepping a trailer for paint. You will get filthy. And tired. And sweaty. And discouraged. You'll be assaulted by fine particulate as you're grinding and sanding, and will wear a respirator if you're smart.


* Wait for optimal painting conditions.  After you've gotten this far, it's tempting to forge straight ahead with painting, but don't do it unless conditions are just right. Read the label on your paint, for optimal air temperature and humidity conditions. I had this trailer at the primed stage by the end of July, but by then, it was too hot to paint it, even in the shade. I ended up waiting until early October before spraying on the top coat.


* Clean and polish the windows and trim before reinstallation. Check out the window and trim in the top photo, then compare to this one. Take my advice, and go power-tool for this job; I used Mother's aluminum polish and a hand-held electric buffer with cone-shaped head, also by Mother's, that I bought at my local tire store.

* Stock up on stainless steel screws. These are the best for putting everything back together again.


* Spring for the cost of new light covers. There's nothing very redeemable about faded, brittle, 40-and-50-year-old pieces of plastic. In the overall scheme of things, the cost of new light covers and flanges isn't all that great, and they add so much to the makeover, overall.


Monday, November 11, 2013

A Few Creative Ideas You Might Like

If there's anything I've learned about the Girl Camping crowd, it's that it's full of creative women. In fact, one of the notable benefits of attending a group gathering is that you're sure to come away with new ideas to try. Some are decorative, some are practical…you can take your pick.


1. Use old belts as trim. These are beaded souvenir belts, but almost any kind of fashion belt will work--and you can pick them up at thrift stores for a song.


2. Pick up a shelf riser or two; they come in very handy. Here, a tall one is used to make a level surface over a propane tank, so the owner can set things on it.


3. If you have an unsightly propane tank, you can hide it with a round, pop-up laundry hamper. Or, line the hamper with a garbage bag to make a trash container.


4. If you've removed the propane tank from your trailer, you can dress up the hitch space with a sign or other items. On this trailer, the cowboy boots are bolted to the frame and used to hold the sign. They'd make a good holder for dried flowers, too, or fresh ones if vases were inserted.


5. A flat-sided suitcase, reinforced with scrap lumber, makes a dandy trailer step. This one's been painted to match the trailer, with a piece of non-slip carpeting glued to the top.

If you have cool ideas of your own to share, feel free to post them in the Comments section. Or, take a photo and share with the readers of our Girl Camping page on Facebook.

Thursday, November 7, 2013

A Few Cold Weather Camping Tips


I'm known to stretch my camping season at both ends, going out in the chilly start of spring and camping on through November or later--until slippery roads get the upper hand.

Even with a heater, a vintage trailer can have cold spots due to incoming drafts. Here are a few tips to share about upping your comfort level.


1. Insulate the roof vent. Heat rises, so you know what happens when your heater's work hits the roof--it's pulled right out from that uninsulated plastic or aluminum vent cover. Basically, you have a hole in the roof. To block the hole, cut a piece of foam to fit, or spend about $12 to buy a covered foam
vent insert from an RV supply store.


2. Drape the door. I have an old woolen serape that I use for this purpose, using clip rings on a rod to hold it up. I leave a few extra inches at the bottom to block drafts at the lower edge of the door. Use your imagination to come up with something similar that will work in your trailer. You may with to do something similar for your trailer's larger windows.


3. Bolster the bed. A trailer bed always ends up somewhere along an outside wall, and if it's over a cubby space, it's also resting atop trapped cold air. To cut the draft/chill factor, bolster the bed with rolled-up blankets and extra pillows.


4. Use a good sleeping bag. The whole glamping thing is great, with adorable bedding, ready for magazine pages…but when the camera's back in the case, warm is where it's at. I've never, ever been cold in my sleeping bag, even with no external heat whatsoever, even below zero. For cold weather camping, it comes along.

Note of caution: If you heat your trailer with propane, don't seal it up too tightly, and keep a carbon monoxide detector inside.