
Last spring, I was the lucky beneficiary of a free trailer--a 1961 Aloha compact. I had never painted a vintage trailer before, but there was no question that the trailer needed a fresher face than this (seen on the day I brought her home).
What did I have to lose? I'd probably never get a better opportunity to learn as I went along. Here's a look at the progress so far:


I'm now making plans to paint another trailer, and based on what I've learned from this one, I'll do this:

* Strip the lights, trim, and windows. If I'm going to go to all the time, filth and bother to do a paint job, then it's worth it in the long run to reseal the trim and all the windows with new butyl tape and sealant. It's also a lot easier to do the sanding and other prep for the painting itself when you don't have trim to worry about. (Tip: Leave the windows in until you're done cleaning and resealing the roof. You'll end up with less mess inside.)

* Deal with the roof first. If the roof leaks, and even if it doesn't, there's no point in doing anything else until you're sure the roof is OK. The toughest part is getting the surface cleaned, especially if there are layers of old roof coating up there. Prepare for this to take a while. Instead of using caulk, I applied Eterna-Bond roof-seal tape over the seams and around the vent cover. The tape is 4 inches wide, hyper-adhesive, and designed to grip through a wide extreme of temperatures. It comes in a roll, like duct tape, and you press down a piece cut to match the length of the seam. That part goes fast!

* Prepare for long periods of The Uglies. There's nothing pretty about the cleaning/sanding/priming process of getting prepping a trailer for paint. You will get filthy. And tired. And sweaty. And discouraged. You'll be assaulted by fine particulate as you're grinding and sanding, and will wear a respirator if you're smart.

* Wait for optimal painting conditions. After you've gotten this far, it's tempting to forge straight ahead with painting, but don't do it unless conditions are just right. Read the label on your paint, for optimal air temperature and humidity conditions. I had this trailer at the primed stage by the end of July, but by then, it was too hot to paint it, even in the shade. I ended up waiting until early October before spraying on the top coat.

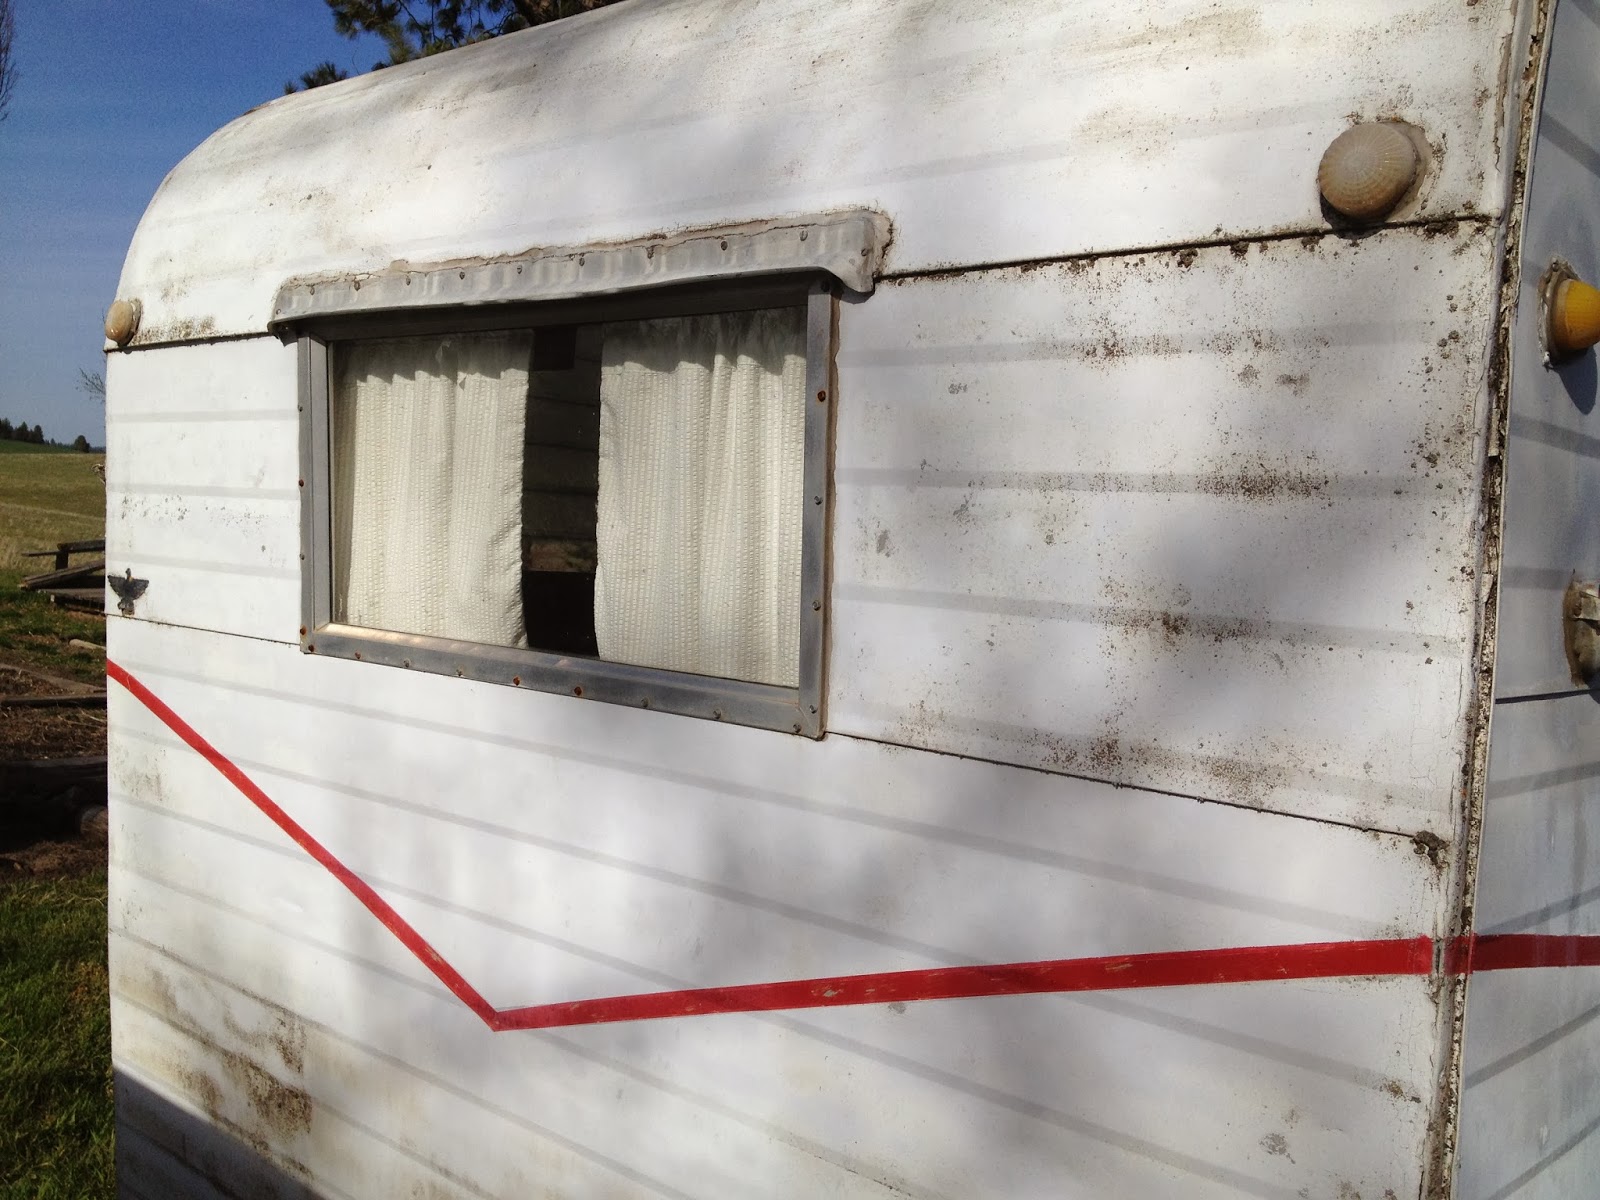
* Clean and polish the windows and trim before reinstallation. Check out the window and trim in the top photo, then compare to this one. Take my advice, and go power-tool for this job; I used Mother's aluminum polish and a hand-held electric buffer with cone-shaped head, also by Mother's, that I bought at my local tire store.
* Stock up on stainless steel screws. These are the best for putting everything back together again.

* Spring for the cost of new light covers. There's nothing very redeemable about faded, brittle, 40-and-50-year-old pieces of plastic. In the overall scheme of things, the cost of new light covers and flanges isn't all that great, and they add so much to the makeover, overall.
Great Advice Juli girl. When I paint "Trigger Happy", I will follow your expertise. Your trailer is looking really good.
ReplyDeleteGreat Advice Juli girl. When I paint "Trigger Happy", I will follow your expertise. Your trailer is looking really good.
ReplyDeleteThanks, Mig! Your Island Girl is an inspiration!
DeleteThat paint job looks amazing! There have been times when I've seen lots of campers with rv's who's paint is peeling, chipping or is just an overall "old" looking color. I always wonder if it's hard to repaint an rv, because it seems to really be needed sometimes. One of my best friends was in charge of a summer camp programs seattle wa and a lot of the rv's that were there looked like they had endured a lot of ran. What can you expect from a Seattle campground, right?
ReplyDeleteBeautiful! What did you use to clean the surface first?
ReplyDeleteTSP--trisodium phosphate.
ReplyDeleteabsolutely LOVE this article as we get ready of sorts to do ours. RV Guy Plus Sewing is the name of our RV.
ReplyDeleteWhat did you paint with?
ReplyDeleteDo you mean what kind of paint? For this trailer I used white tractor paint (paint made for farm implements), and applied it with an airless paint gun. I used a primer coat first, self-etching primer made to adhere to aluminum.
DeleteRV Roofs receive a steady beating from excessive weather, structural movement, damage from accidents, and a lack of renovation. Before you obtain state of affairs of replacement, repair with Liquid Roof to make your roof as sturdy as new without too much money and attempt.
ReplyDeleteThank you for sharing. Its informative and full of information.
ReplyDeleteAirless Spray Paint Gun